Tuesday, 11 April 2017

The TORUS


For our second assignment, we are suppose to beat a piece of metal to form 2 concave curve in 2 different direction, thus forming a torus shape. Using multiple moulds and tools, to form the desired shape and curves we want.

Step 1: Cut the big sheet metal with a metal guillotine into desired pieces to work with.
 
Step 2: Bend the piece of metal onto a circular wooden mould with a concave in the middle for the curve.
Step 3: Start beating middle of the sheet metal to form a inward concave.

Step 4: Start working the concave to the side to form a valley.

Step 5: Turn the metal around with initial concave facing down, curving upwards
Step 6: Beat the side of the metal with the sharp side of the nylon hammer on a sand bag to curve it in the reverse direction.

Step 7: Refine both curves and make sure it forms a nice circumference.

Step 8: Turn the metal upside down again and make the initial concave deeper to further accentuate the difference between both curves.
 
Step 9: Keep beating.
Step 10: After the desired depth is obtained, start to smoothen out the bumps with a metal hammer and a metal mould.
 
Step 11: Find a different mould that fits the initial curve and smoothen out the bumps.
Step 12: Make sure that the curve is still nice and smooth from the side profile.

Step 13: Step back and admire the results.


The BOWL


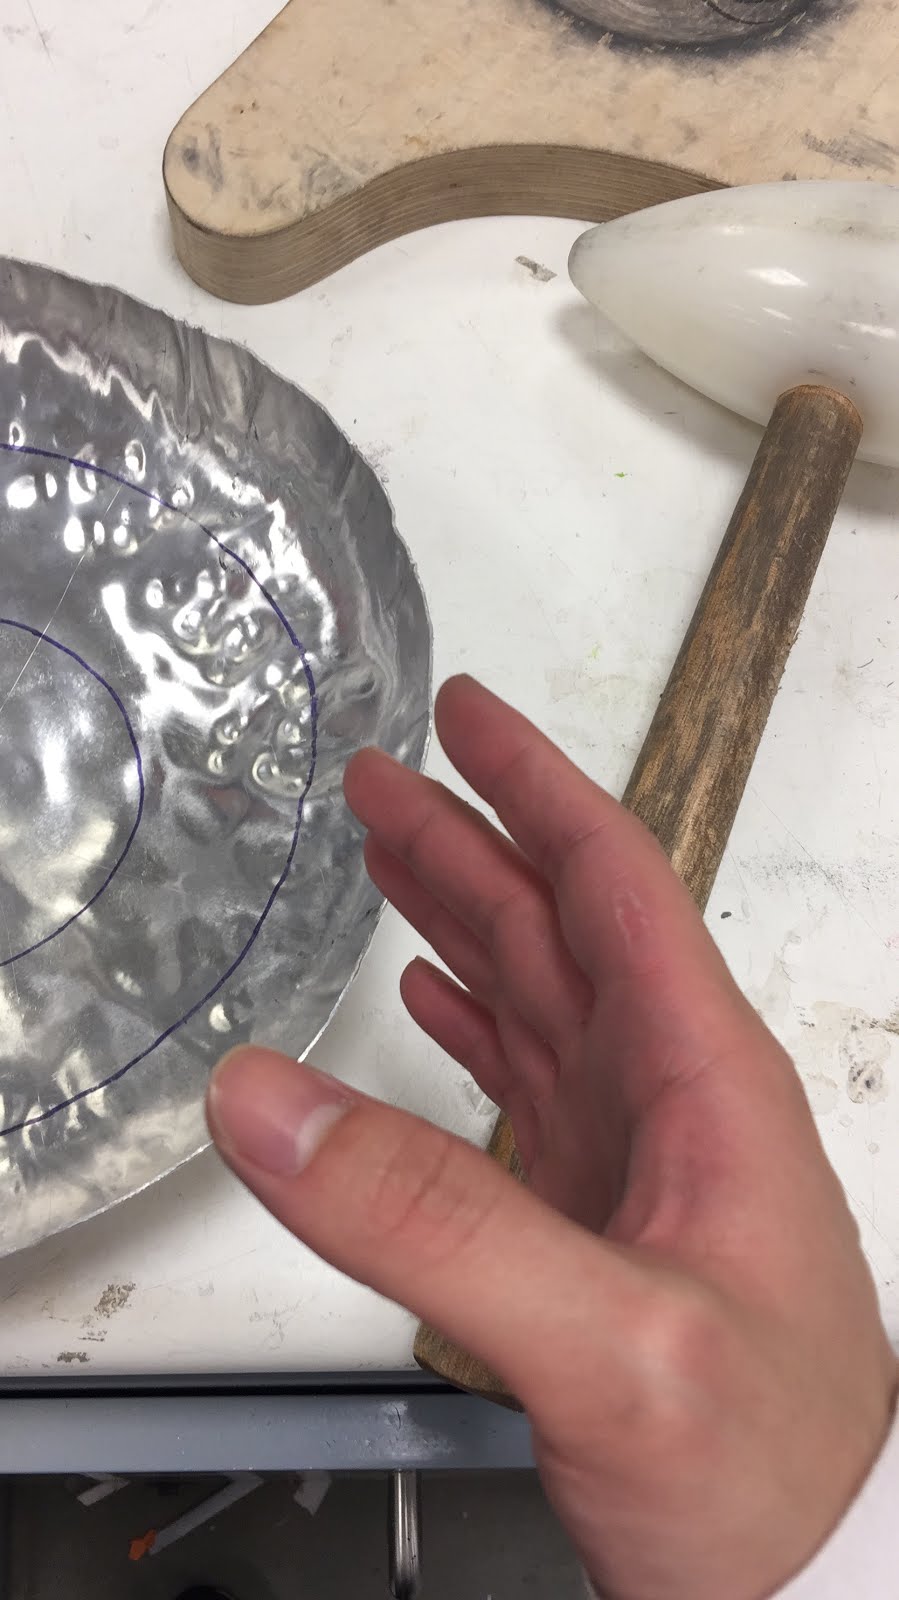
The introduction project we worked on is the bowl. We started from a flat piece of aluminium and traced out the profile of a circle using a compass scribe. After, we beat the flat piece of aluminium with a hammer onto a piece of wooden mould to get the general shape of the bowl out. With long hours and sweat and blood (picture above shows my blister), my piece of aluminium turned from a flat piece of metal to a metal bowl.


These are the steps I took for the transformation of the metal to the bowl.
Step 1: Scribe the aluminium with a compass for a perfect circle.
Step 2: Cut out the profile with a hand held metal cutter.
Step 3: File down the edges with a hand file to avoid cutting myself.
Step 4: Find a piece of wooden mould and a nylon hammer.
Step 5: Start beating the side of outer circle with the sharper end of the hammer to form a concave dent, stretching the metal.
Step 6: Repeat step 5 till the whole perimeter of the circle have that concave dent.
Step 7: Start using the fat end of the hammer to beat down the concave dent contracting the metal.
Step 8: Beat down the dents till it smoothens out.
Step 9: Refine it further and make the bowl shape defined.
Step 10: Beat the centre of the bowl to expand the metal and create the depth for the bowl.
Step 11: Continue beating.
Step 12: Start refining the sides of the bowl and make sure its a circle.
Step 13: After the desired shape is attained, start to smoothen out the lumps with a metal hammer beating on a metal mould.
Step 14: If step 13 is taking too much time with too little results, use an english wheel.
Step 15: Smoothen out all the lumps with an english wheel till the whole bowl looks smooth and looks like a proper bowl.
Step 16: Take a step back and admire the results.